Printing Your First Letterpress Project: A Beginner's Checklist
So, you're ready to dive into the beautiful world of letterpress printing! It's a wonderfully tactile and rewarding craft, but can feel daunting for a first-timer. Don’t worry, this checklist will walk you through the essential steps, ensuring your initial project is a success. Let's break it down, covering everything from materials to the final print.
1. Gathering Your Materials: The Essentials
Before you even touch the press, you need to make sure you have the right tools and supplies. Skimping here can lead to frustration and a less-than-ideal outcome. Understanding the nuances of choosing materials is key – for instance, a significant part of the process revolves around selecting the right type or plates. If you’re intrigued by the options and want to explore the vast landscape of letterpress fonts and styles, you might find our guide, Choosing Your Type: A Guide to Letterpress Fonts and Styles, particularly helpful.
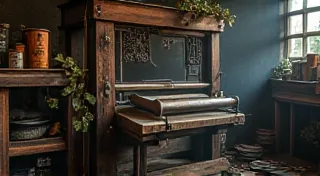
- Letterpress Printing Press: This is the big one! A tabletop press is generally best for beginners. Familiarize yourself with its operation before you start printing.
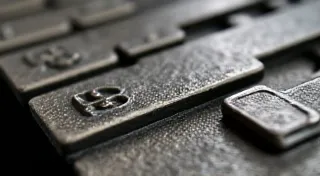
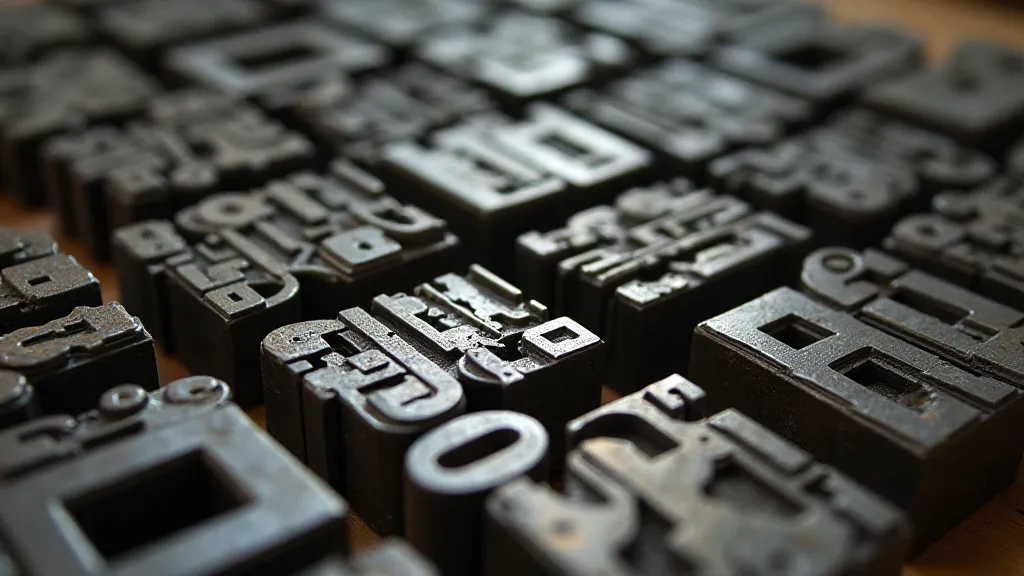
- Type or Plates: You can use metal type (more traditional) or polymer plates (easier to create custom designs). If you're using type, ensure it's properly organized and clean.
- Ink: Letterpress ink is formulated specifically for the process. Avoid using standard printing inks; they won’t behave correctly.
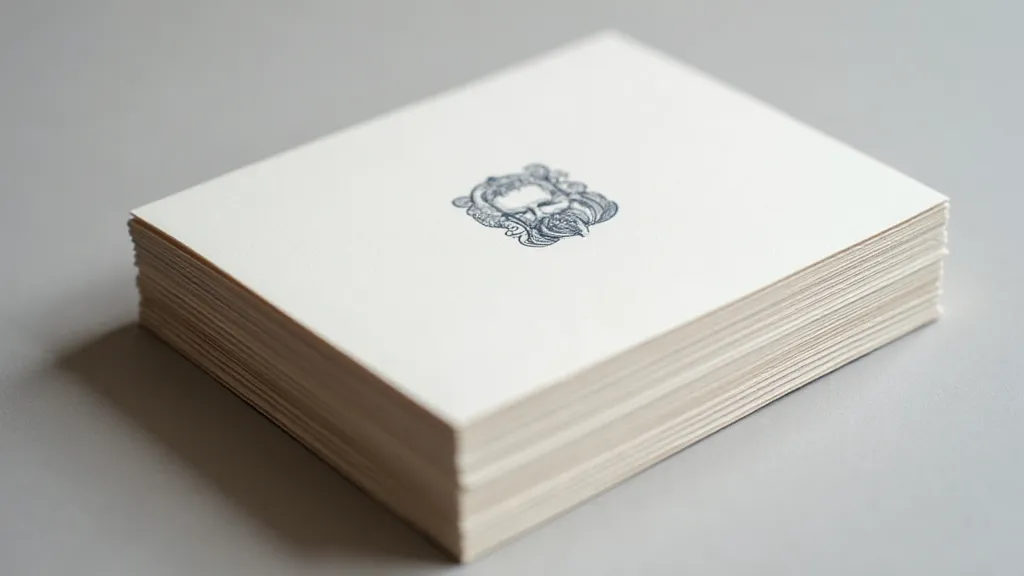
- Paper: The type of paper you choose significantly impacts the final result. Thicker, cotton-based papers are popular for their ability to take an impression well.
- Roller Wash: A solvent specifically designed for cleaning letterpress rollers.
- Rags/Cleaning Supplies: Lots of them!
- Chase and Furniture: To secure your type or plates on the press.
- Packing Material: The material placed under the chase to adjust the pressure of the printing process.
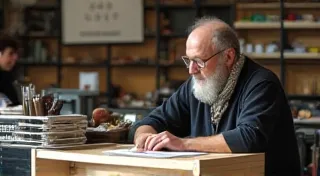
2. Design & Preparation: Planning is Key
The design itself is crucial. Letterpress excels with simpler designs and bold typography. Complex designs can be challenging to execute flawlessly, and the impression itself often lends itself best to designs with clear depth and contrast. The beauty of letterpress isn’t always about intricate details; sometimes, it's the powerful simplicity of a well-placed word or image. You might be considering a DIY project to try out your newfound appreciation for letterpress. Our guide to DIY Letterpress Projects: Simple Crafts for Beginners offers some starting ideas.
- Design Software: If creating polymer plates, you’ll need graphic design software.
- Proofing: Before you even touch the press, create a proof of your design to ensure it looks as intended.
- Layout & Registration: Precisely plan the placement of your type or plates on the press. Registration marks are vital for multi-color printing.
3. Setting Up the Press: A Step-by-Step Guide
This is where the technical side comes into play. Read your press’s manual thoroughly. Understanding the mechanics of your press is critical to success. Each press is slightly different, and knowing the nuances of your specific model will save you time and potential headaches down the road. This stage also requires a degree of patience. Rushing can lead to errors in setup, which will be far more frustrating than taking the time to do things correctly.
- Clean the Rollers: Start with clean rollers. Roller wash is your friend!
- Lock the Press: Ensure the press is securely locked before proceeding.
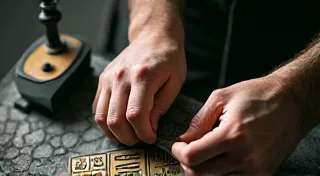
- Mounting Type/Plates: Carefully secure your type or plates onto the chase, using furniture to hold them in place.
- Setting the Pressure (Packing): This is one of the trickiest parts. Start with a low pressure and gradually increase it until you achieve a good impression. Too much pressure can damage your equipment and paper.
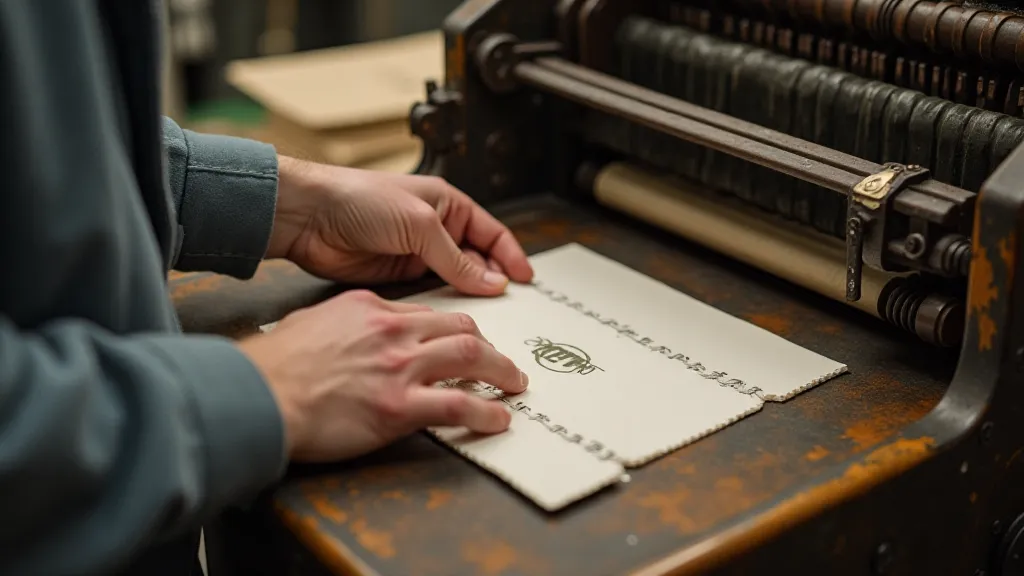
4. Inking & Printing: The Moment of Truth
Now, for the exciting part! Take your time and pay attention to every detail. It's also a good moment to pause and appreciate the journey you’ve undertaken, from gathering materials to preparing the press. The smell of the ink, the feel of the paper, the satisfying creak of the press – these are all part of the letterpress experience. There's a reason why, despite the rise of digital printing, letterpress continues to endure; it’s about more than just producing a printed image; it’s about creating a tangible object with history and character.
- Inking the Rollers: Apply a thin, even layer of ink to the rollers.
- Testing the Impression: Before printing your final piece, do a test print on a scrap piece of paper.
- Adjusting Pressure & Ink: Fine-tune the pressure and ink application based on your test prints.
- Printing: Carefully feed the paper through the press.
- Clean Up: Immediately clean the rollers and chase after each run.
5. Troubleshooting & Learning
Don't expect perfection on your first try! Letterpress printing is a craft that takes practice. It's a process of experimentation and refinement, and even seasoned letterpress printers encounter challenges. The beauty lies in the learning curve, in the ability to adapt and overcome obstacles. Understanding the resurgence of letterpress and its impact on contemporary design can also provide interesting context – explore The Rise of Modern Letterpress: A Contemporary Revival for a deeper dive.
- Too Light Impression: Increase the pressure or check for ink starvation.
- Too Heavy Impression: Reduce the pressure or check the packing.
- Uneven Impression: Check the roller pressure and the evenness of the ink distribution.
- Paper Tear: Reduce the pressure significantly. The paper may be too thin, or the pressure is too high.
Letterpress printing is a rewarding journey. Embrace the process, experiment, and enjoy the tactile beauty of this traditional craft! The feeling of holding a finished piece, knowing that you’re part of a lineage of printers stretching back centuries, is truly something special. And remember, even with all the technology available today, the essence of letterpress remains unchanged: the skilled hand, the meticulous attention to detail, and the love of creating something beautiful and enduring.